インストール時にきかれること
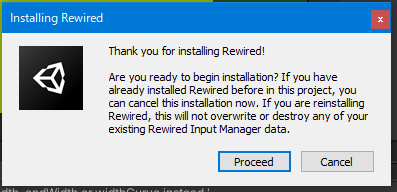
Thank you for installing Rewired!
Are you ready to begin installation? If you have already installed Rewired before in this project, you can cancel this installation now. If you are reinstalling Rewired, this will not overwrite or destroy any of your existing Rewired Input Manager data.Rewiredをインストールしていただき、ありがとうございます!
インストールを開始する準備はできましたか?このプロジェクトで以前にRewiredをインストールしたことがある場合は、今すぐこのインストールをキャンセルすることができます。もし Rewired を再インストールする場合でも、既存の Rewired Input Manager データを上書きしたり破壊したりすることはありません。
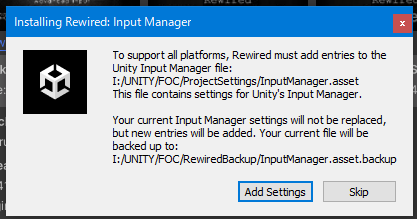
To support all platforms, Rewired must add entries to the Unity Input Manager file: (パス名)
This file contains settings for Unity's Input Manager.
Your current Input Manager settings will not be replaced, but new entries will be added. Your current file will be backed up to:(パス名)すべてのプラットフォームをサポートするために、Rewired は Unity Input Manager ファイルにエントリを追加する必要があります: (ファイルパス)。
このファイルには、Unity の Input Manager の設定が含まれています。
現在の Input Manager の設定は置き換えられませんが、新しいエントリが追加されます。現在のファイルは次の場所にバックアップされます:(ファイルパス)
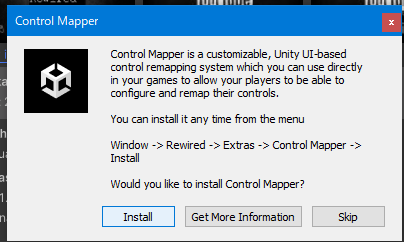
Control Mapper is a customizable, Unity UI-based control remapping system which you can use directly in your games to allow your players to be able to configure and remap their controls.
You can install it any time from menu
Window -> Rewired -> Extras -> Control Mapper -> Install
Would you like to install Control Mapper?コントロールマッパーは、カスタマイズ可能なUnity UIベースのコントロールリマッピングシステムで、ゲーム内で直接使用し、プレイヤーがコントロールの設定やリマッピングができるようにします。
メニューからいつでもインストールできます。
Windos -> Rewired -> Extras -> Control Mapper -> Install
Control Mapperをインストールしますか?

Would you like to install the Standard or Text Mesh Pro version of Control Mapper? The Text Mesh Pro Version requires that Text Mesh Pro be installed from the Package Manager prior to installation or you will get complier errors.
Control MapperのStandard版とText Mesh Pro版のどちらをインストールしますか?Text Mesh Proバージョンは、インストール前にText Mesh Proをパッケージマネージャからインストールしないと、コンパイラのエラーが発生します。
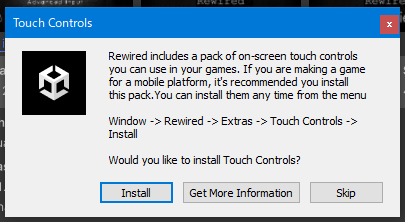
Rewired includes a pack of on-screen touch controls you can use in your games. If you are making a game for a movile platform, it's recommended you install this pack. You can install them any time from the menu
Window -> Rewired -> Extras -> Touch Controls -> Install
Would you like to install Touch Controls?Rewiredには、ゲームで使用できる画面タッチコントロールのパックが含まれています。モバイルプラットフォーム向けにゲームを作成する場合は、このパックをインストールすることをお勧めします。メニューからいつでもインストールすることができます。
ウィンドウ→Rewired→Extras→Touch Controls→インストール
Touch Controlsをインストールしますか?

オフライン版の説明書をインポートしますか? オンライン版もありますよ。

To begin using Rewired, create an Input Manager in the scene from the menu:
Window -> Rewired -> Create -> Input Manager.
Select the "Rewired Input Manager" object from the scene hierarchy, then in the inspector click "Launch Rewired Editor".
Happy gaming! 🙂Rewiredの使用を開始するには、メニューからシーンにInput Managerを作成します。
「ウィンドウ」→「Rewired」→「Create」→「Input Manager」
次に、ヒエラルキーウインドウから「Rewired Input Manager」オブジェクトを選択し、インスペクターで「Launch Rewired Editor」をクリックするとRewiredエディターが開きます。
ハッピーゲーミング! 🙂
初期設定
Settings
Max Joysticks Per Playerを「100」にする
Tools
変更なし
Map Categories
- UI
- Pause
- Quote
- Playing
- Extra
を作成し、全ての「User Assignable」を切る。
Action Categories
上記とおなじものを作る
Actions
UI
- UIHorizontal
- UIVertical
をType:Axisで作り、
- UISubmit
- UICancel
- UIOption
- UIPause
をType:Buttonで作る。
Pause
- Unpause
をType:Buttonで作る。
Quote
- QuoteSubmit
- QuoteCancel
- QuotePause
をType:Buttonで作る。
Playing
- Horizontal(PositiveName:Right、NegativeName:Left)
- Vertical(PositiveName:Up、NegativeName:Down)
をType:Axisで作り、
- Left_Button
- Right_Button
- Up_Button
- Down_Button
- Submit
- Cancel
- Option
- Pause
をType:Buttonで作る。
Joystick Layouts、Keyboard Layouts
変更なし
Keyboard Maps
各キーを割り当てる。
Players
- Player0
を追加し、
- Assign Mouse on Start:
をOFF、
- Exclude Joy Auto-Assign
をONにして、
Keyboad Maps→「Add Keyboad Map」から先ほど登録したMapを全て追加
Event System
最後にEvent System内のStandalone Input Moduleを削除してRewired用のものに置き換えて設定をいじくって完成!